I’ve been making my own bread for many years. My Dad inspired me to start baking it because whenever I used to go and visit my parents he would bake a fresh loaf (something he normally did on a weekly basis) because he knew how much I loved it. Initially I used a bread maker with the standard flour, dried yeast and water recipe. That was until I recently developed an aversion to brewers yeast. I’m not sure why, it just started one day. This meant that I needed to cut things out of my diet that made my symptoms worse. Items such as bread or pastries that contained yeast, mushrooms, beer and worst of all, champagne were no longer on my agenda.
I’ve never really eaten a lot of bread but I did enjoy the occasional piece and became extremely envious when I could smell a piece of freshly cooked toast. Then I attended a demonstration talk from Yoke Mardewi of Wild Sourdough. Yoke has been conducting sourdough classes for many years now and her product knowledge is extraordinary. The class I attended was an information session about her journey into the culinary world, sourdough itself and the classes she runs. I found it inspiring and was most excited when she gave us a tiny sample of her 20 + year-old starter culture and explained how we could take it home, feed it and watch it grow. This could then be used to create sourdough bread.
The benefits of sourdough (made the traditional way) are numerous and includes the simple fact that it is much easier for your body to digest and because of its density is more filling that some other breads. Two things I saw as immediate positives. Besides the health related benefits (which have meant that I don’t need to cut things out of my diet anymore!), I love the fact that a small amount of ancient starter culture is passed onto someone that they can then nurture and make it their own. I was once devastated when I thought I had killed my culture. Not appreciating the tradition of the method and trying to rush the process, one day I decided to place my bowl of developing culture in an oven that had been switched off earlier and was still warm. Upon retrieving it a few hours later expecting to see a light, bubbly mass I was shocked to see a flat, somewhat hardened disc. I scrapped off the top layer, leaving me with a small amount of soft culture. I redid the process from the beginning, prayed to the sourdough gods recognising the error in my ways, vowed never to try and rush the process again and set my bowl aside with a breath of hope. A few hours later I took a peak and was extremely relieved to see the beginnings of small bubbles forming in the base of the mixture which meant that my baby would be alright.
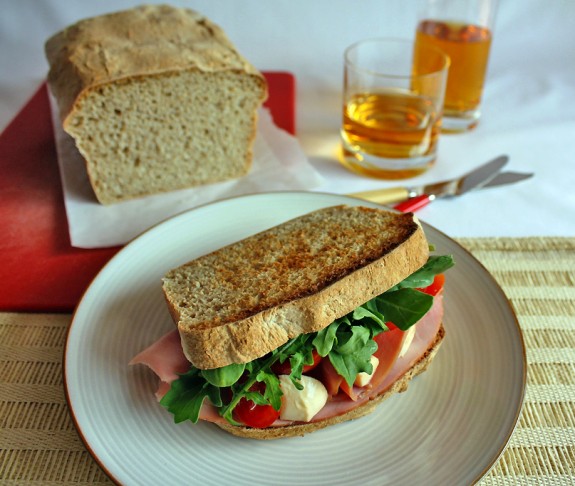
While I’m not an expert on the product at all (as you can tell from the story above J) I have adapted the original recipe and technique to make it into something that I can call my own. I now make it once a week and although it is great to eat a slice with a little butter, G and I love it toasted with any topping we fancy at the time.
sourdough bread (recipe from Yoke Mardewi of Wild Sourdough adapted by Fiona from Food 4 Thought)
makes one 1kg loaf (you will need to begin this recipe the day before*)
Ingredients
600g (1lb 5ozs) bread flour
12g (1 tablespoon) sea salt flakes, crushed
170g (6ozs) developed starter culture*
320g (1½ cups/12ozs) filtered water
Preparation
Line a 22cm x 11cm (8 ½ in x 4¼ in) loaf tin with non-stick baking paper.
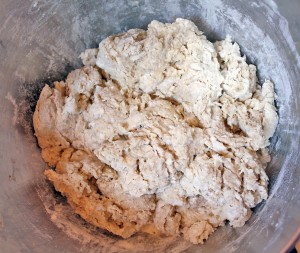
Place flour into large bowl of stand mixer. Add sea salt and stir to combine. Make a well in centre, add developed culture then the water. Using a large metal spoon or plastic spatula, mix the water and culture together to loosen the culture, then stir into the flour until most of the flour is incorporated. This can take a little bit of work. Cover and set aside for 20 minutes to allow the water to be absorbed into the dough.
Place bowl into stand mixer and attach the dough hook. Knead for 15 minutes on low speed.
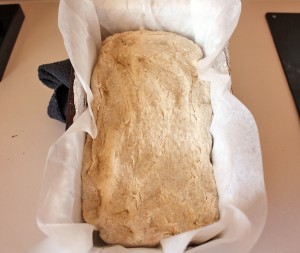
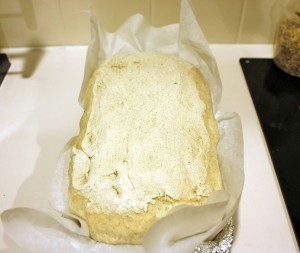
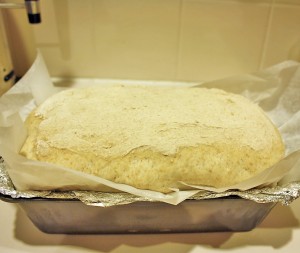
Remove from the bowl and place into loaf tin, pressing mixture gently into shape of the tin. Set aside in warm area for approximately 9 hours or until doubled in size.
Preheat oven to 250°C. Bake bread for 10 minutes then reduce heat to 220°C and bake for further 15 minutes. Remove from oven, remove baking paper and cool on wire rack. To test if cooked, tap the bottom of the loaf, this should sound hollow.
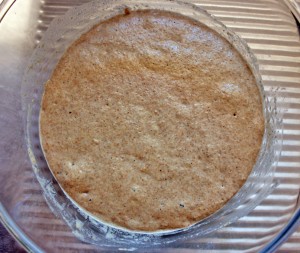
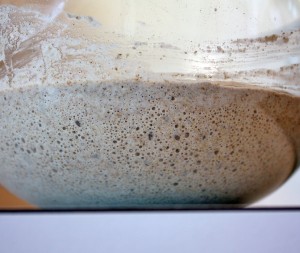
My tips/alterations: *I usually feed my culture at about 6am and allow it to stand for approximately 6-7 hours or until it is almost three times its original size. Then I mix up the bread dough and allow that to stand for 9 hours or so which allows me to cook it just prior to going to bed. That way we have fresh bread for toast the next morning. *The rising time for both the culture and the dough will depend on the warmth in the room. The times I have listed are for the warmer months so you may need to allow more time when the weather it a little cooler. *Placing the starter in the refrigerator in between will make it go dormant until you feed it again. You need to feed it once a week to keep it alive. You can use the starter to make a loaf of bread or you can share it with friends. *The texture of the dough will often depend on the type of flour that you use, the temperature of thee water and the culture and even the air temperature. I usually watch it when it is mixing and will add a little extra flour if I feel the mixture is too wet. The mixture should stick to the sides of the bowl just a little but not be too sticky. *Recently I have altered my recipe to substitute 100g of white flour and replace it with wholemeal flour which gives the bread a nice texture. We have also tested this recipe with rye and all wholemeal flour and found the bread takes on a more sour flavour and has a slightly denser texture. *If you don’t have a stand mixer you can also knead this in a bread maker or even by hand.
If you would like to make your own sourdough starter there are a number of sites that will explain how to do so. I liked “The Fresh Loaf” because it is a traditional version and doesn’t include any yeast.
ease: 9/10. This took some trial and error to get right but now that I have worked it out I think this is simple. If you don’t have a stand mixer or bread maker to knead the dough you might find it a little more difficult.
prep time: 40mins including kneading + rising time for culture and dough.
cooking time: 25mins.
total: 1 hour 5 mins + rising time.
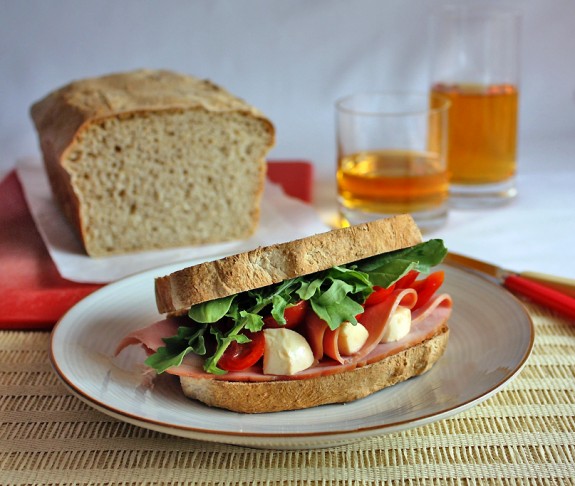
taste: 10/10. G has been bugging me to write about this bread for a long time. He tells me that it is the best bread he has ever eaten. It has a slightly sour taste to it and it is definitely denser than normal store bought bread. When you toast it the outside goes crunchy but the inside tends to stay soft which I think is because of its consistency.
would I make it again: I will have – This has become a weekend ritual for me, one that I love. We never buy bread anymore and feel healthier for having our sourdough.

Sounds delicious!
I’ve seen Yoke’s class advertised and have been planning to attend sometime 🙂 Based on the weekly feeding routine I think I’ll be waiting until after our holidays!
This is just the kinda info I was looking for! Thanks.